 Just in time for Valentine’s day I decided to resurrect one of my first favorite crafts: Making sh*t with pipe cleaners. This craft project actually came from martha stewart’s tutorial for making pipe cleaner flower rights. You can read the instructions over there or you can read my somewhat different instructions and see pictures of me doing it step-by-step here. I personally think my step-by-step (…day by day, lol…) instructions are much more fun.
So here is what you do. First you need to buy a whole bunch of pipe cleaners. The ones I get are .99 cents at Michael’s. I got 4 packs in red and 4 packs in green. If you want pink flowers or some other color (maybe a friendship flower if you want to remain bae-less) then get those – just be sure to get the green ones.
So step one: Take out six of the red ones and four of the green ones.
Step 2: Gather up the red ones and fold them in half. In the fold part insert two of the green ones so about half of them are on either side of the fold in the red ones (it’ll make more sense in the next few steps – read ahead if you need to).


Step 3: Twist the red ones around themselves and speed out so that they look like whiskers (just leave the green ones alone for right now)


Step 4: Start curling up the red pipe cleaners. Curl them in toward the center (as shown).
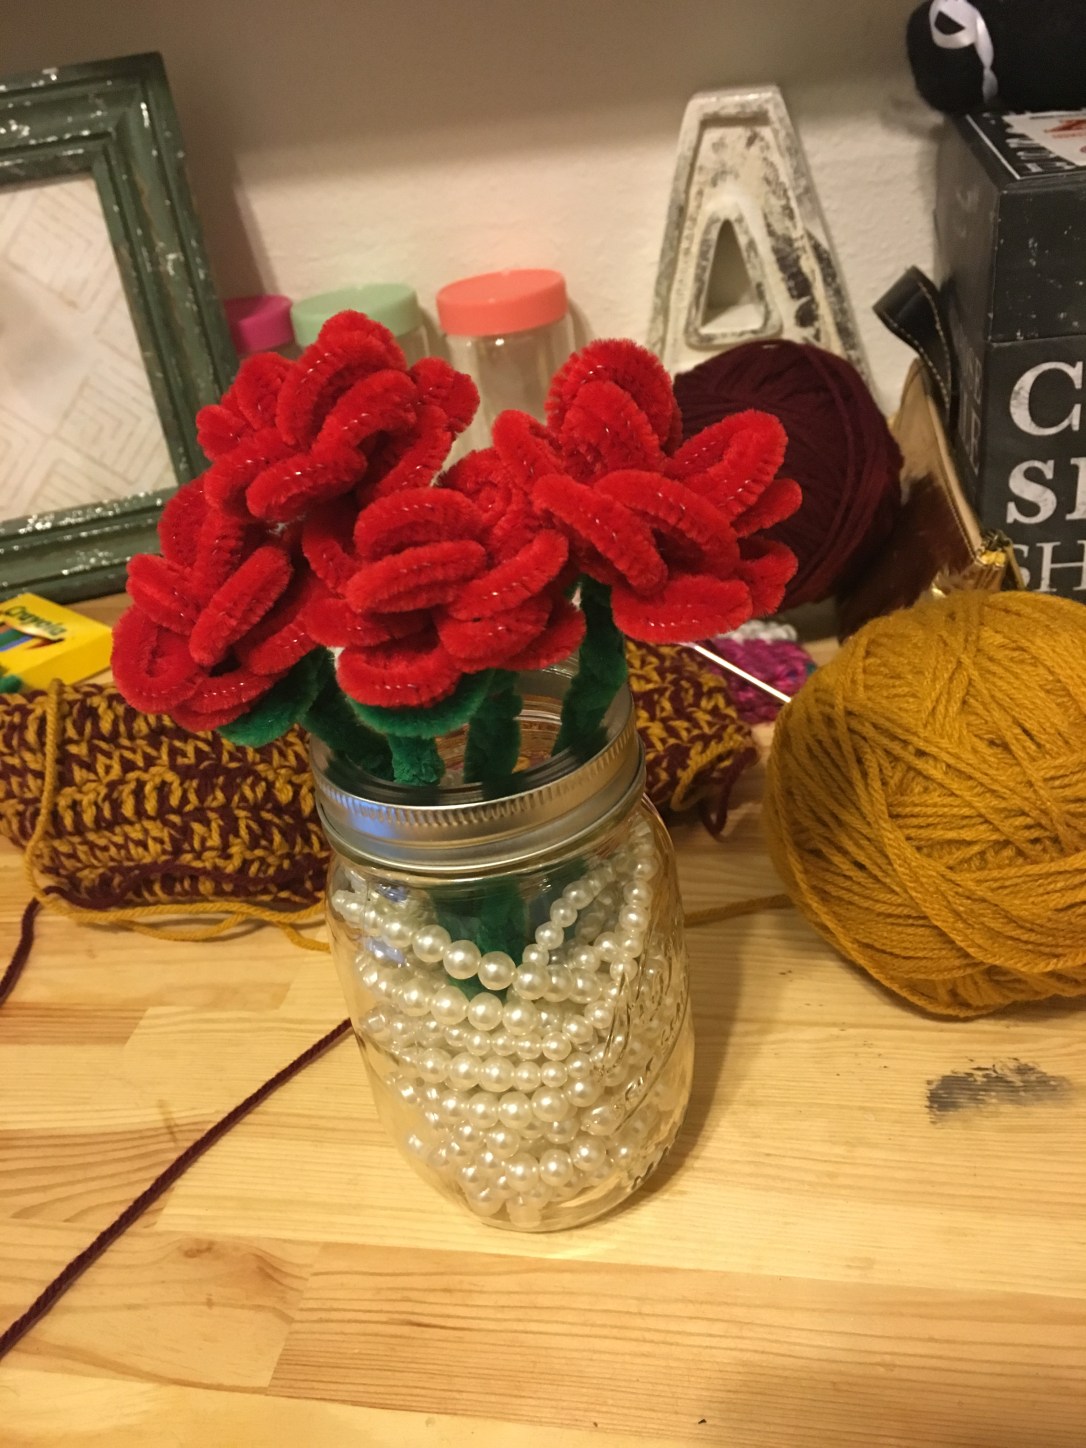
Step 5: Once it looks like the picture below, it’s time to shape it into a flower. There’s no real method for this, so just shift around the “petals” until they look like petals.


Step 6: Now you can fold those green ones in half. twist them around themselves to make a “stem” … you’ll notice that you can still see some red… we will fix that in the last step


Step 7: Make leaves. Take one green pipe cleaner and wrap it tightly around the bottom of the flower then curl in the ends in the same way that you curled the rose petals. However you think they look good as leaves, go for it. Finally, to cover up the last bits of red take the last green pipe cleaner and wrap it tightly around to cover the red parts – you can then wind it down the stem to blend it in.

And that’s it folks. Now you know how to make some sh*t out of pipe cleaners. You can make a whole valentines day gift for someone for about $10 if you buy a mason jar…and about $12 if you buy fake pearls for the inside of the mason jar.
Tip: Pipe cleaners can be folded into anything you want them to be – there is no such thing as messing up with a pipe cleaner. Besides, it’s the thought that counts, right?
 For a while now I had been wanting a work space for crafting. My apartment isn’t