I’ve become increasingly more interested in crocheting Amigurumi objects. I previously posted about making an Amigurumi Doll – but Pinterest has inspired me to delve deeper into the world of crocheting objects. This post is about this tiny hamburger!
Prior to making the tiny hamburger, I experimented with larger Amigurumi food objects. For example, I made a doughnut for my best friend Wendy:

Doesn’t it just look delicious!? What makes this type of crocheting different is that it’s just more fun. Amigurumi is also really good practice for getting down techniques like crocheting in the round and working with smaller hooks.
I mostly find my patterns for crocheting on Pinterest. If you haven’t tried Pinterest -do it. Do it right now.
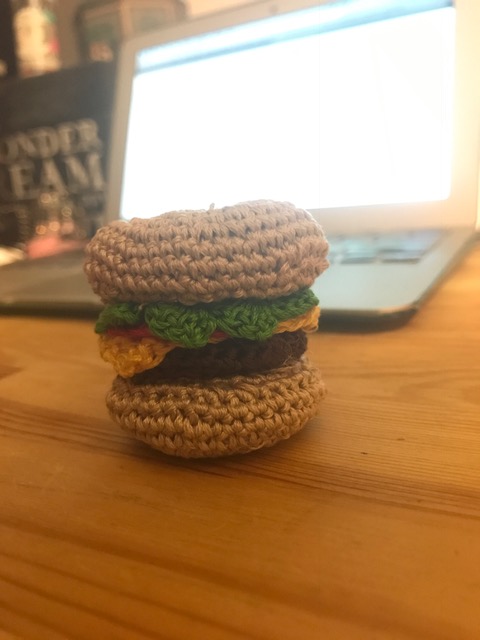
For the hamburger, Pinterest led me to Sweet N’ Cute Creations Ami Burger Made Simple. In order to make it small I decided to use embroidery floss and a size B hook (it’s super super small). One of the most difficult things about making the burger was using the tiny hook. It took a long time to get used to and I had to do it under a desk lamp to see all of the stitches.

Each of the parts of the burger were made separately. There was no tomato in the pattern so I improvised one. The pattern calls for the cheese to be made of felt, but I improvised again and crocheted up a cute little piece of cheese.
The burger and the buns are stuffed with fiberfill. The most fun part of the burger to make was the lettuce. It was quick and was so cute!
It took me about 3 total hours to make the burger. Once I got done with it I decided to run some floss through the middle of the burger so it couldn’t come unstacked.
Here’s another picture of how cute (and small) the burger is:

YUM!